> ## Documentation Index
> Fetch the complete documentation index at: https://docs.opigno.com/llms.txt
> Use this file to discover all available pages before exploring further.
# User management
User management in the back office concerns back-office user accounts (not learners in learner areas).
**NOTE:** User management is available only to **administrators** and **user managers**.
You can create and manage user accounts with the **same or lower roles**. For example, a user manager cannot create an administrator account or assign the administrator role to an existing account.
You can access the **Manage users** dashboard from the menu on the left, under **Authentication**.
## The dashboard
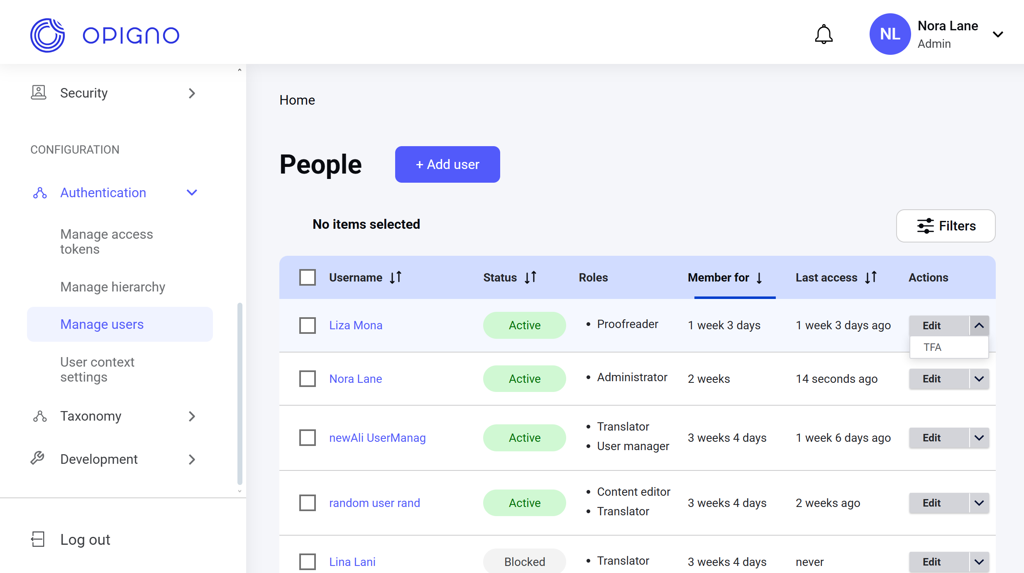 The dashboard table shows the list of all user accounts with the following attributes:
* **Username**
* **Status**: Active / Blocked.
* **Roles**:
* Content editor
* Administrator
* Proofreader
* Translator
* Coach
* User manager
* Statistic manager
* **Member for**: The time passed since the account was created.
* **Last access**: How long ago the previous login happened.
* **Actions**: Edit (edit the account), TFA (two-factor authentication settings).
You can sort the list by the account username, status, membership duration, or last access date.
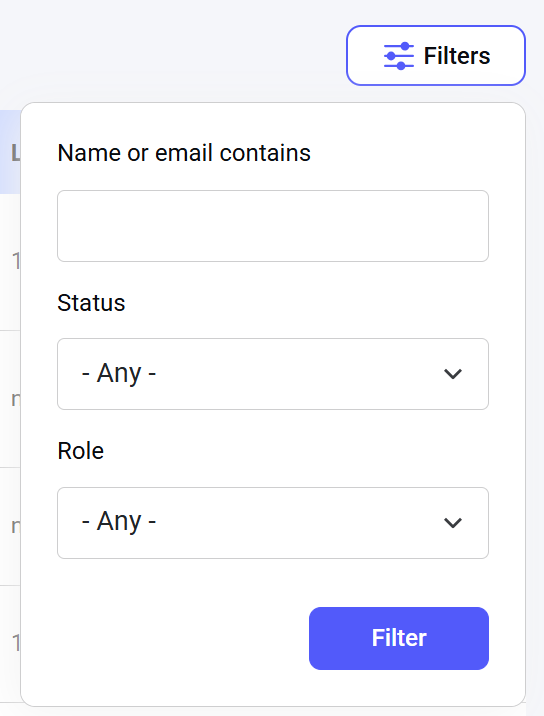
You can also narrow down the user list by filters, including the username or email search by word match, the account status, and role:
The dashboard table shows the list of all user accounts with the following attributes:
* **Username**
* **Status**: Active / Blocked.
* **Roles**:
* Content editor
* Administrator
* Proofreader
* Translator
* Coach
* User manager
* Statistic manager
* **Member for**: The time passed since the account was created.
* **Last access**: How long ago the previous login happened.
* **Actions**: Edit (edit the account), TFA (two-factor authentication settings).
You can sort the list by the account username, status, membership duration, or last access date.
You can also narrow down the user list by filters, including the username or email search by word match, the account status, and role:
 To edit accounts directly in the table, select them using the checkboxes. The dropdown menu will appear above the table, listing the actions you can apply. Choose an action from the list and click **Apply to selected items**.
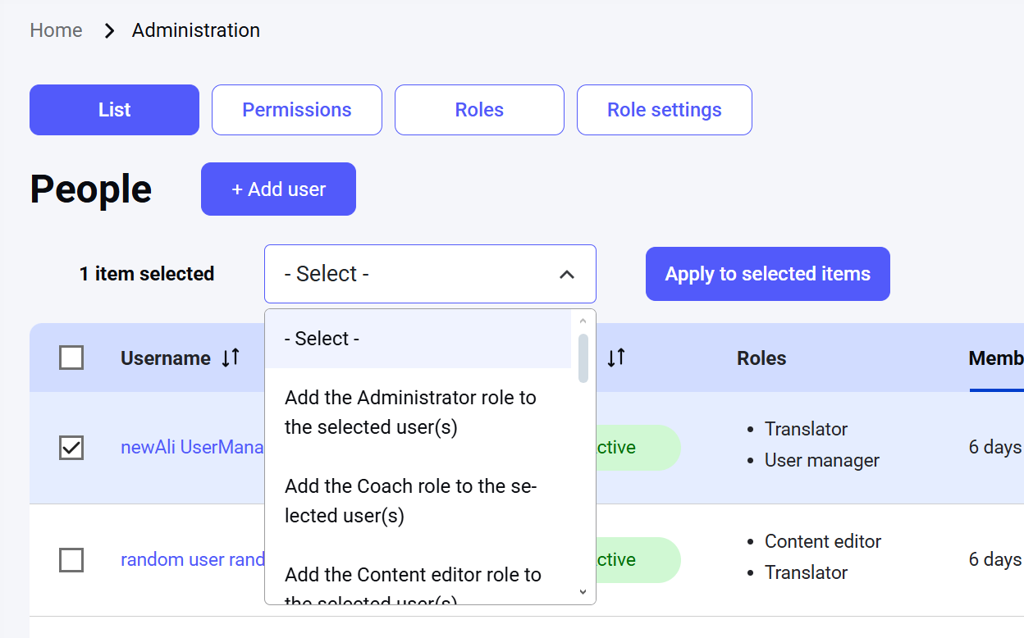 The actions available are:
* **Add a role to the selected user(s)**
* **Block the selected user(s)**
* **Cancel the selected user account(s)**: Deletes the selected user account(s).
* **Remove the role from the selected user(s)**
* **Unblock the selected user(s)**
## Adding a new user
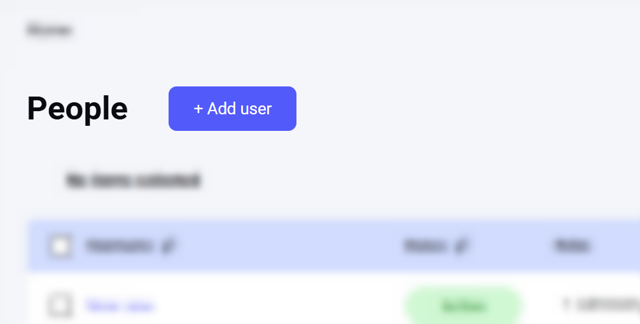
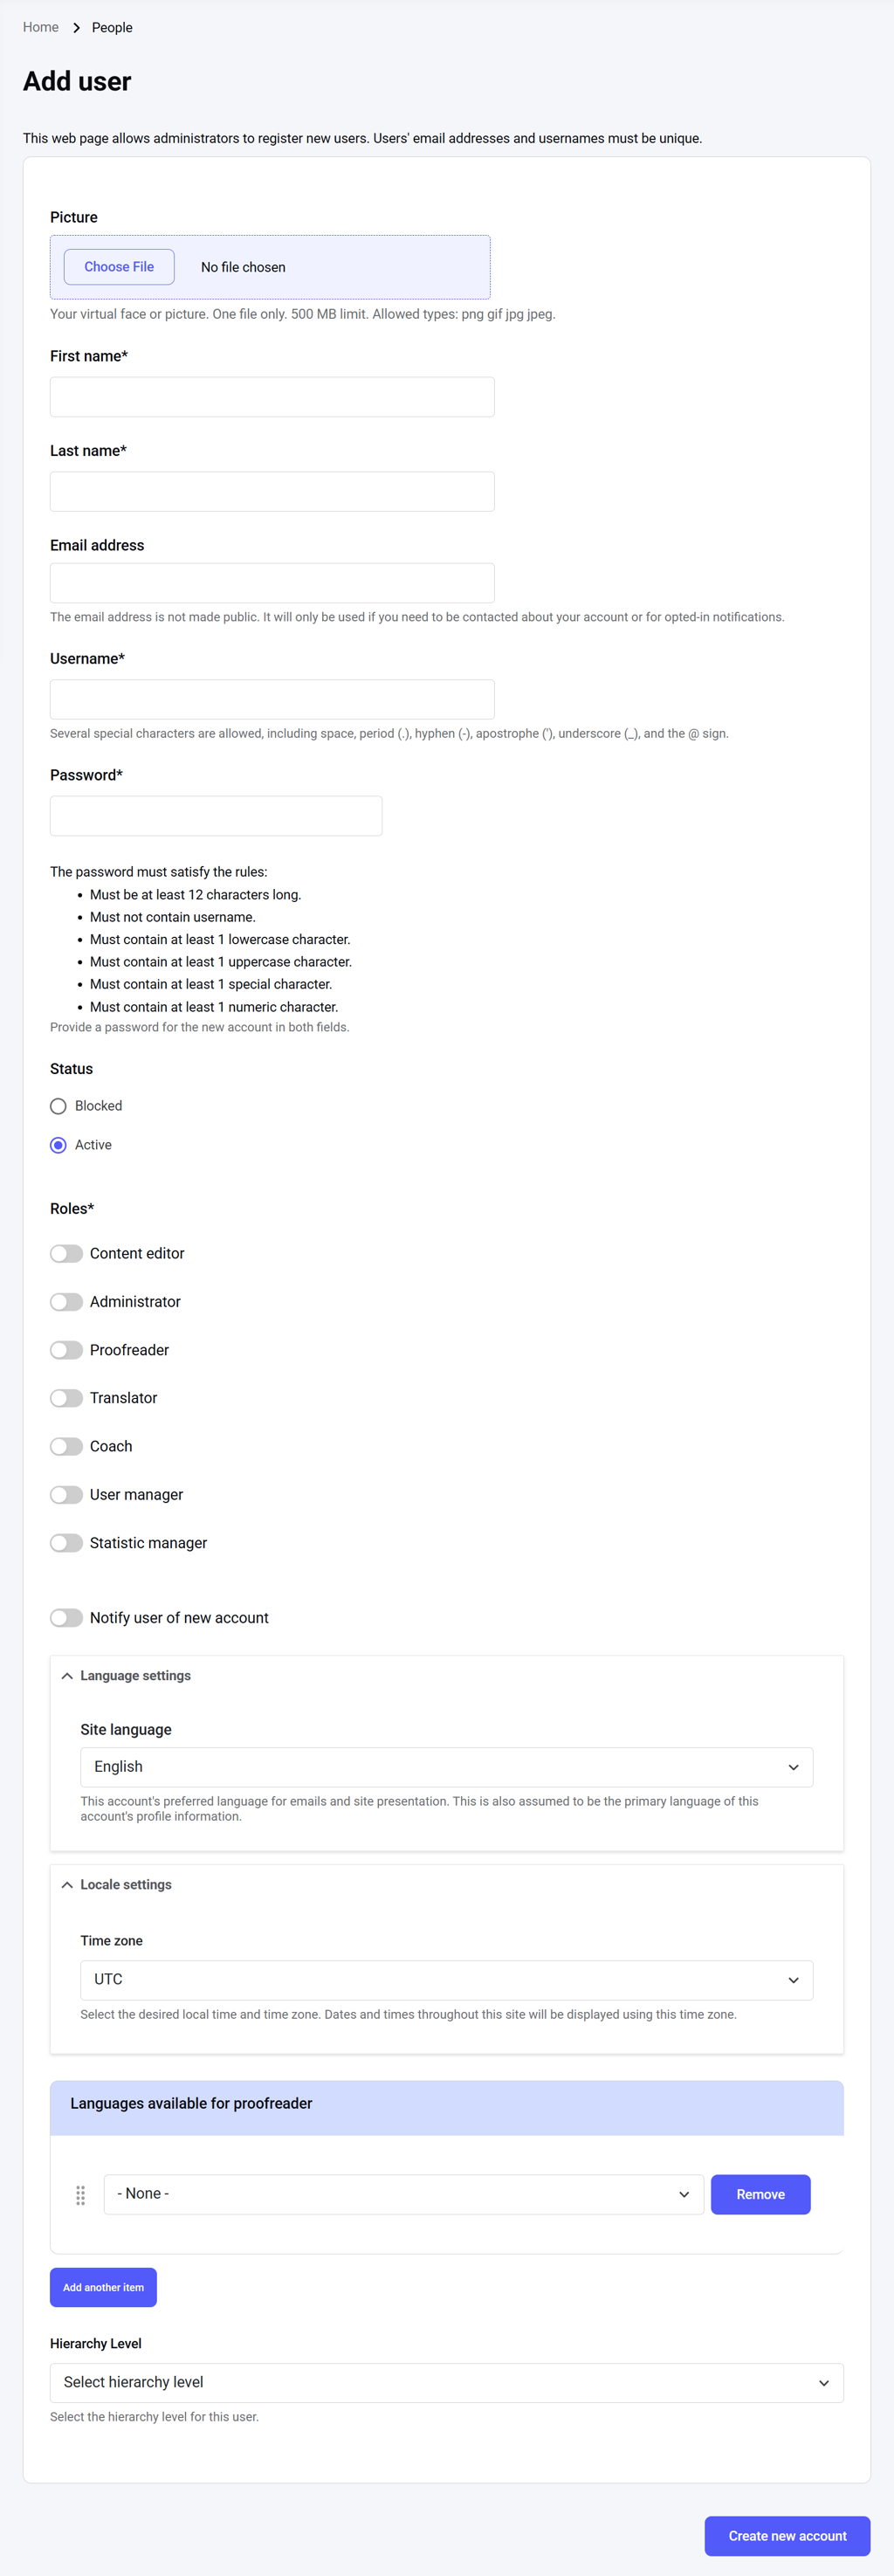
To add a new user, click the **Add user** button at the top of the dashboard. The user account creation interface will open, where you can enter the user’s first and last name, email address, username, initial password, and assign the status, roles, site language, timezone, and hierarchy.
The actions available are:
* **Add a role to the selected user(s)**
* **Block the selected user(s)**
* **Cancel the selected user account(s)**: Deletes the selected user account(s).
* **Remove the role from the selected user(s)**
* **Unblock the selected user(s)**
## Adding a new user
To add a new user, click the **Add user** button at the top of the dashboard. The user account creation interface will open, where you can enter the user’s first and last name, email address, username, initial password, and assign the status, roles, site language, timezone, and hierarchy.
 ## Editing a user profile
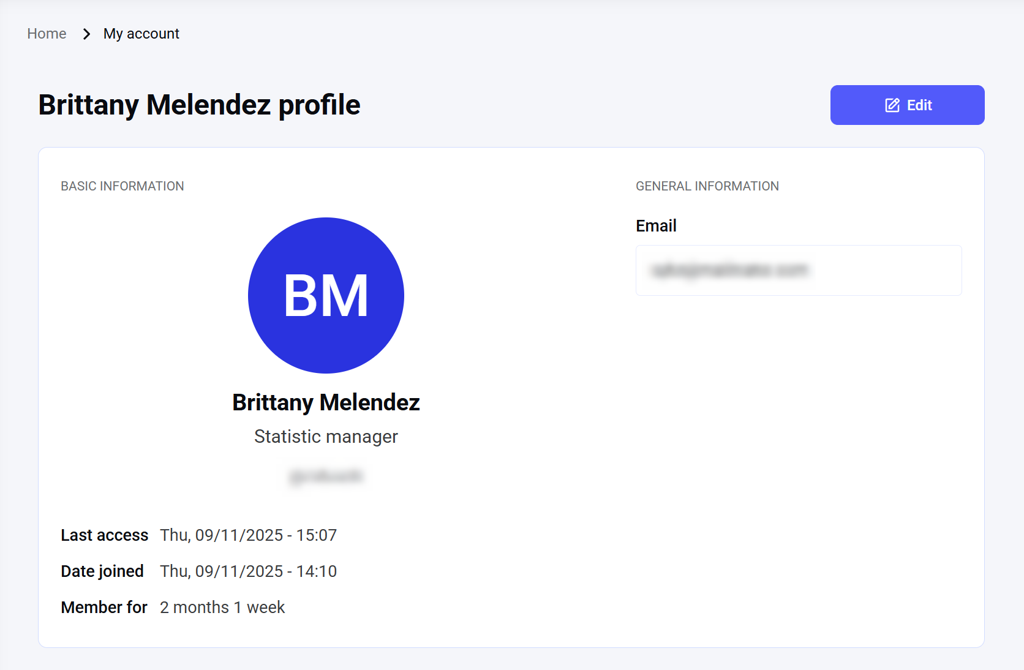
Click on the user name on the dashboard table to access and edit the profile info.
## Editing a user profile
Click on the user name on the dashboard table to access and edit the profile info.
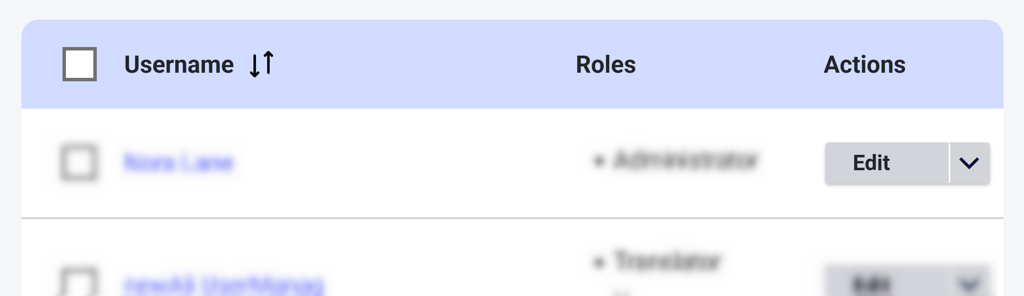
 You can also edit the profile by clicking the **Edit** button for the respective row in the table.
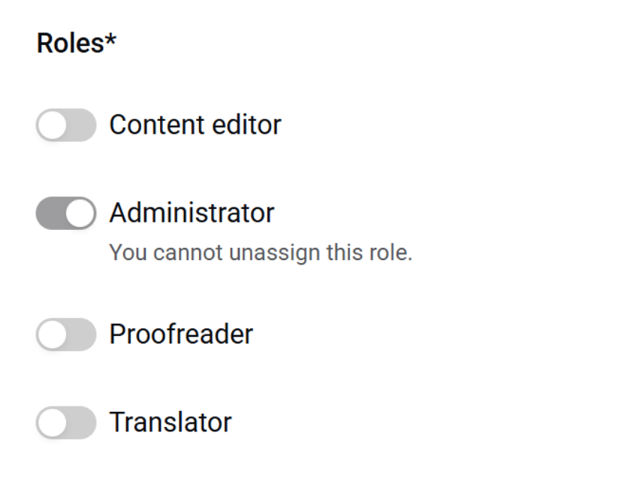
 **NOTE:** If you are an administrator and editing your own profile, **you cannot unassign yourself from the administrator role**. Only other administrators can do that.